If your home looks great in person but falls flat in photos, you are not alone. Listing photos are often the first showing, and in a mountain market like Spruce Pine, small distractions can pull attention away from the features buyers really want to see. With the right prep, you can make your home feel clean, bright, and easy to picture living in before the camera ever clicks. Let’s dive in.
Why photo prep matters
Great listing photos do more than document your home. They help buyers imagine daily life there, which is a key reason staging matters. According to the National Association of Realtors' 2025 Profile of Home Staging, 83% of buyers' agents said staging made it easier for buyers to envision a property as their future home.
That does not mean you need a full redesign or a truckload of new decor. In most cases, a camera-ready home means cleaning, decluttering, repairing, depersonalizing, and making simple updates that remove distractions. The goal is to highlight space, light, and the way your home lives.
In Spruce Pine, that also means making the most of what mountain properties do best. Natural light, porches, decks, tree-framed windows, and long views can all add to the story of your home when they are clean, open, and easy to capture.
Focus on the priority rooms
If you are short on time, start where photos tend to matter most. The 2025 NAR report found that the most commonly staged rooms were the living room, primary bedroom, dining room, and kitchen. These spaces usually shape a buyer’s first impression of the home’s comfort and function.
That does not mean every other room should be ignored. It means you should put your best effort where the camera is most likely to linger. Once those rooms are in strong shape, move to bathrooms, entry areas, outdoor living spaces, and any room with standout natural light or a view.
Living room prep
Your living room should feel open, calm, and easy to move through. If the room feels tight, remove one or two bulky pieces of furniture so the layout reads more clearly on camera. Practice photos can help you spot crowded corners and awkward angles before the photographer arrives.
Open blinds and let in as much natural light as possible. Dust surfaces, straighten pillows, hide remotes, and tuck away cords and wires. A few simple accessories are enough, especially if they vary in height and do not clutter every flat surface.
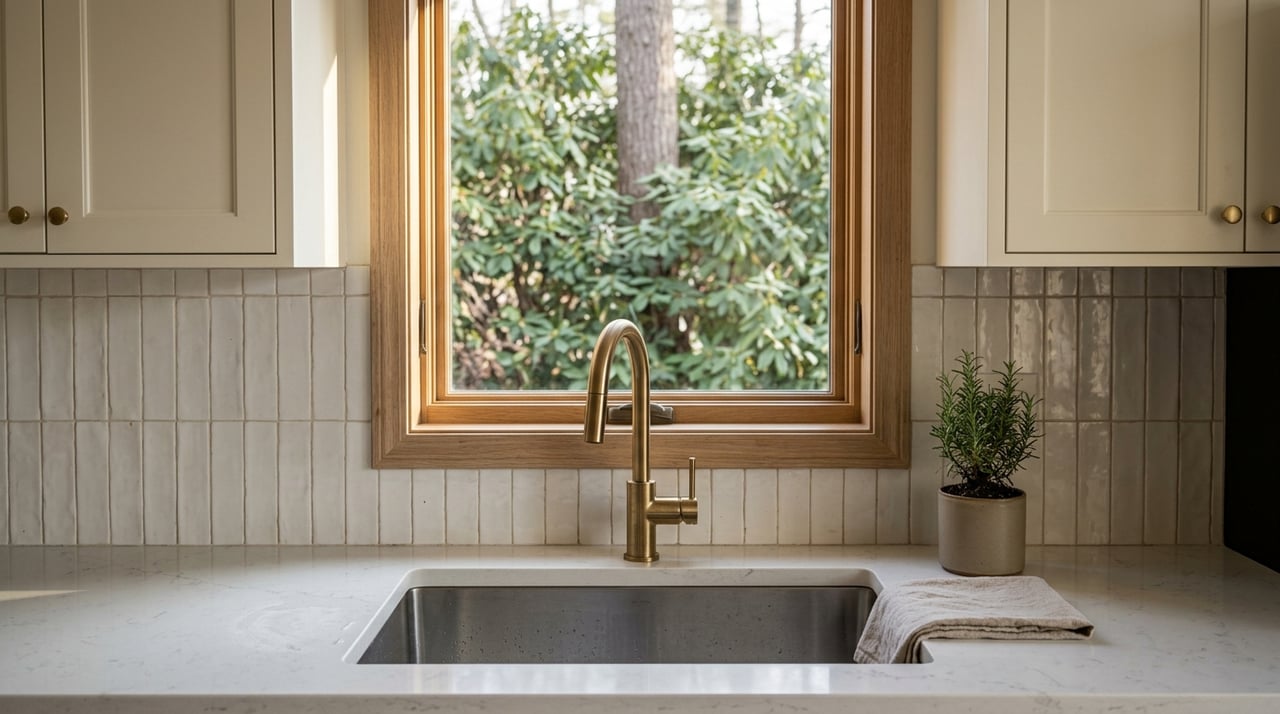
Kitchen prep
The kitchen should read as clean and functional. Clear the counters as much as possible, and keep only a few items that support the room’s story. For most homes, that means putting away extra countertop appliances, paper stacks, and anything that makes the space feel busy.
Wipe down cabinet fronts, polish fixtures, and clean windows inside and out. Remove refrigerator magnets and notes so the eye stays on the room itself. If your kitchen opens to another area, leave connecting doors open when possible so the flow of the layout shows well in photos.
Primary bedroom prep
The primary bedroom should feel restful and uncluttered. Make the bed neatly with simple bedding that looks crisp and smooth on camera. Clear nightstands of excess items and keep personal belongings out of sight.
If the room has too much furniture, scale it back. A crowded bedroom can photograph smaller than it feels in person. The aim is to make the room look comfortable, balanced, and easy to imagine at the end of the day.
Dining room prep
Dining rooms often work best with a simple, polished look. Clear extra chairs if the room feels crowded, and keep the table styling minimal. You want buyers to notice the space, not a collection of decor pieces.
Dust light fixtures, straighten artwork, and remove anything visually distracting. If the room connects to the kitchen or living area, an open, clean sightline can help the whole main level feel more spacious.
Use a whole-home photo checklist
The camera notices details that you may stop seeing day to day. According to NAR’s seller handout, clutter, grime, and poor furniture placement tend to stand out more in photos than they do in person. That is why a room that feels fine in real life can still look busy online.
Before photo day, walk through your home slowly and look for anything that interrupts a clean visual line. This is where a simple checklist can save you time.
Interior checklist
- Deep clean every room
- Dust, vacuum, and mop floors
- Wash windows inside and out
- Open blinds for natural light
- Turn on lights in darker spaces
- Make all beds neatly
- Clear kitchen counters
- Remove refrigerator magnets and papers
- Tuck away bathroom items and clear shower ledges
- Hide cords, chargers, and wires
- Remove family photos and very personal decor
- Put away pet beds, bowls, and accessories
- Take down distracting art if it pulls attention from the room
- Leave interior doors open when possible to show layout
This kind of prep is not about making your home look generic. It is about helping buyers focus on the home’s features instead of your daily routines.
Don’t forget bathrooms and entry spaces
Bathrooms may not be the star of the listing, but they still affect the overall feel of the home. Clear counters completely or nearly completely, and remove items from shower ledges and tub edges. Fresh towels, clean mirrors, and polished fixtures go a long way.
Entry spaces matter too because they help set the tone. Keep shoes, jackets, bags, and pet gear out of sight. Even a small foyer or mudroom can feel more welcoming when it looks clean and intentional.
Prep the outside like it is the cover shot
Your exterior photo is often the first image buyers see. NAR’s consumer guide notes that curb appeal shapes a buyer’s first impression from the street, and simple cleanup or landscaping updates can make a big difference before photography.
In Spruce Pine, outdoor spaces often help sell the lifestyle as much as the floor plan. A porch, deck, front steps, or mountain-facing window can add real impact when the setting looks tidy and well cared for.
Exterior checklist
- Sweep porches, decks, steps, and walkways
- Clear leaf litter and yard debris
- Put away trash bins, hose reels, and toys
- Move vehicles out of view if possible
- Straighten outdoor furniture
- Wipe down railings and front doors
- Trim overgrowth near entries and windows
- Remove seasonal decor if it looks dated or distracting
- Clean windows that frame mountain or yard views
If your home has a strong view, protect that advantage. Open blinds, remove window screens if appropriate, and make sure the glass is clean so the photographer can capture the scene clearly.
Work with Spruce Pine light and season
Photo timing matters in mountain markets. Zillow’s photography guidance recommends shooting interiors when they are brightest and positioning exterior photos so the front of the house is well lit. That is especially useful in Spruce Pine, where elevation, shade, and tree cover can change the look of a property quickly.
Local climate patterns support planning ahead for seasonal shoots. NOAA lists the Spruce Pine 2 NE station at 2,850 feet, and NC State Extension’s freeze-date tool shows an average first fall freeze date of October 21 and an average last spring freeze date of April 27 for that station. In practical terms, your landscaping and leaf cover may change faster than you expect.
For fall listings, timing is especially important. Blue Ridge Parkway guidance says peak fall color usually lands in mid-to-late October, while higher elevations can start changing earlier, and Travel NC notes that the highest elevations may begin changing in late September. For Spruce Pine sellers, that means it is smart to stay flexible and schedule photos early enough to catch color before leaf drop starts to thin the landscape.
You do not need perfect rooms
A common seller question is whether every room has to look flawless. The short answer is no. The 2025 NAR report suggests that many sellers’ agents do not stage every listing and often focus instead on decluttering and correcting visible issues.
That is good news if you are feeling overwhelmed. You do not need to create a magazine set in every corner of the house. You need a home that feels bright, clean, honest, and easy for buyers to picture themselves in.
Aim for accurate, polished photos
The best listing photos should feel polished without feeling misleading. NAR and Zillow both emphasize the value of reducing clutter and presenting the home accurately rather than disguising it. Buyers want to be impressed, but they also want the home to match what they see when they walk in.
That balance matters even more in a market where views, natural light, and outdoor living play such a big role. When your home is prepped well, strong photography can tell a clear story without overediting or overselling.
A thoughtful photo prep plan can make your Spruce Pine home feel more spacious, more inviting, and more memorable online. If you are getting ready to list and want a local, marketing-forward strategy for presenting your property at its best, Kelly Jones can help you shape the story from the first photo to the final closing.
FAQs
Do I need full staging for listing photos in Spruce Pine?
- No. Many listings benefit most from decluttering, cleaning, simple furniture edits, and minor repairs rather than a full redesign.
Which rooms should I prep first for listing photos?
- Start with the living room, primary bedroom, dining room, and kitchen, since these are often the most important rooms in listing photography.
How should I prepare mountain views for listing photos?
- Clean the windows, open blinds, remove distractions near the glass, and tidy decks, porches, or yards so the view reads clearly in the photos.
When is the best time to schedule fall listing photos in Spruce Pine?
- Late September through late October is often the key window, but the best date depends on elevation, weather, and how the trees and yard look that week.
How polished should listing photos look?
- They should look bright, clean, and professional while still representing the home accurately and honestly.